Making magic with scrim projections
Nothing more impressive than an image suddenly appearing out of thin air, but achieving the perfect floating image can be a huge challenge.

Anita Affentranger
There’s nothing more impressive than an image that suddenly appears out of thin air, but achieving the perfect floating image or virtual object can be a huge challenge. In order to choose the perfect material for your situation and budget, it is important to understand the different parameters that determine the quality of your projection and the special effect required.


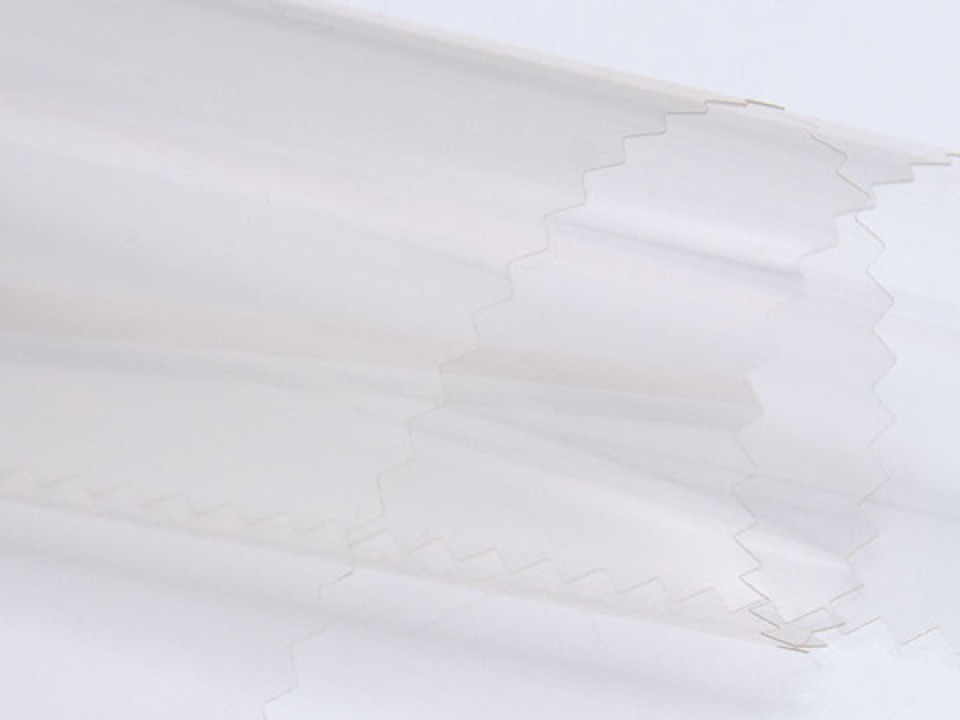
Overall, we can assume that scrims with a larger mesh are more transparent but reflect less of the projected light than scrims with a tight mesh.
When choosing the size of the mesh, you must determine whether it is the transparency of the screen or the sharpness and definition of the projected image that is the most important to you.
If the object or performers behind the scrim must be clearly visible, then a larger mesh is the way to go. If the projected image should be very sharp and objects or performers behind the screen can be silhouettes, then a smaller mesh size and/or thicker mesh material is applicable.

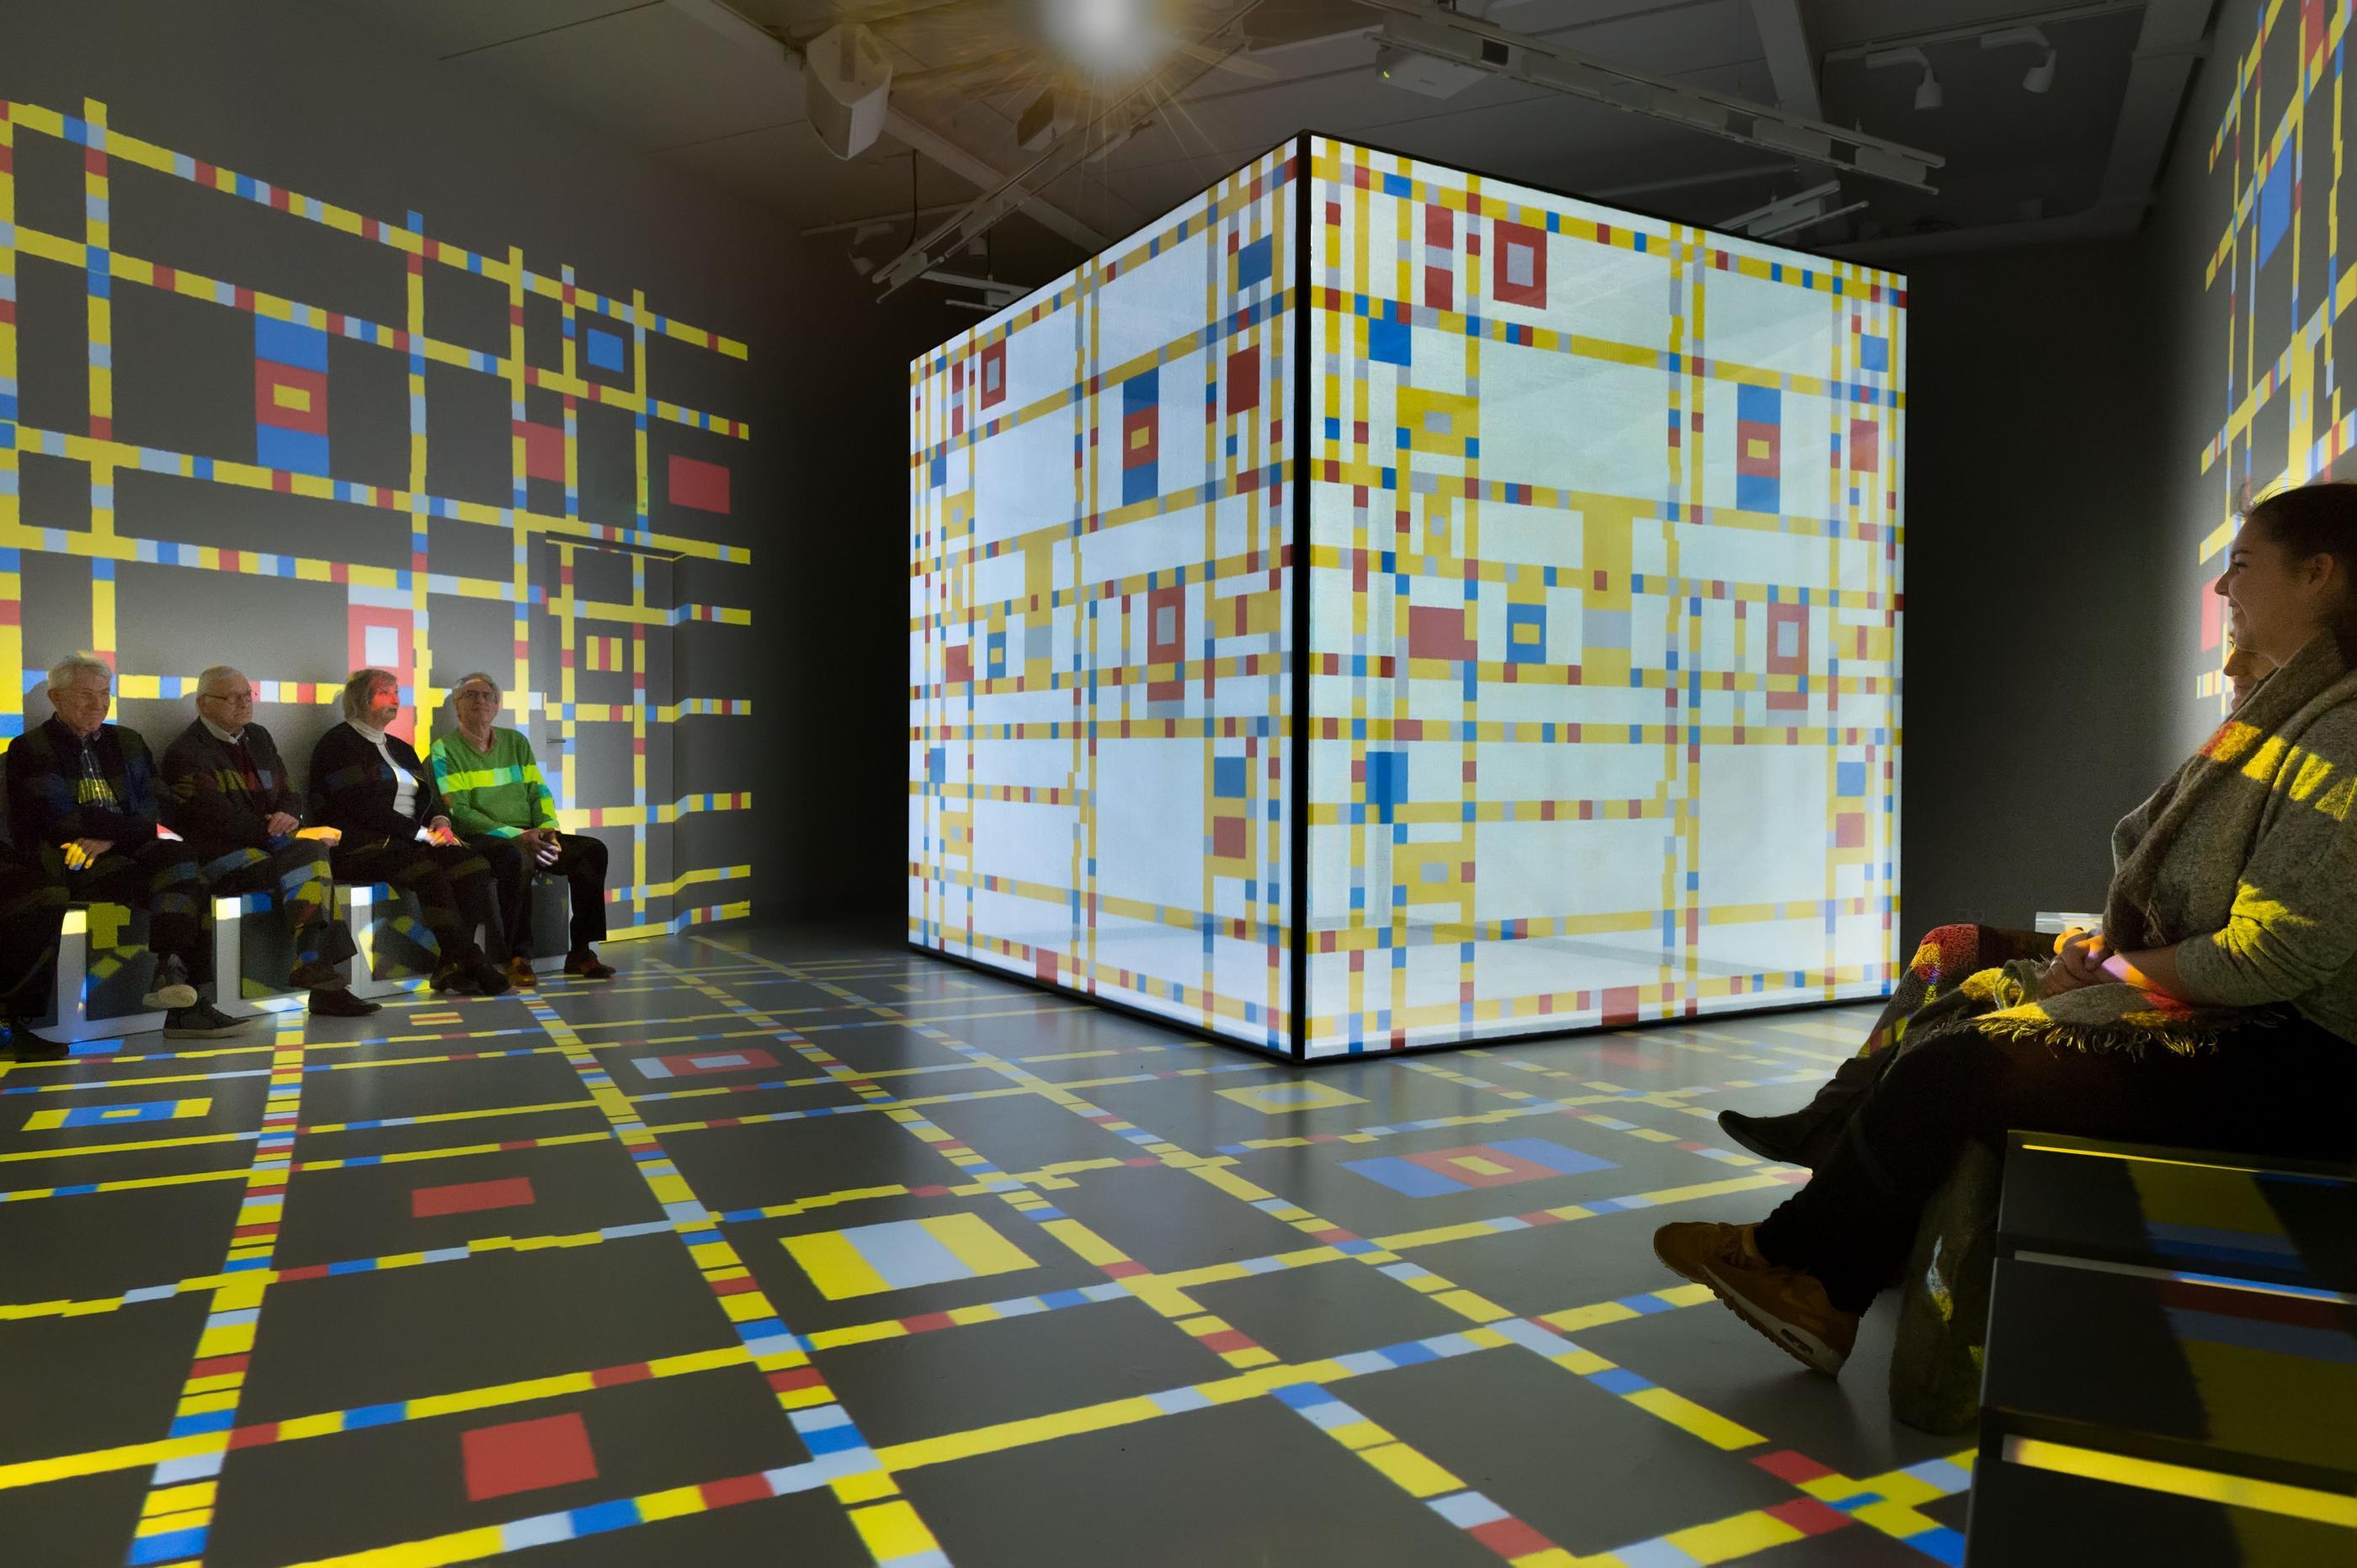
The most important factor to create magic with a scrim is lighting. It goes without saying that controlling all light is therefore key. Always take into account the ambient lights you cannot control, such as house lights and emergency lights, for they can ruin the effect.
Scrims both reflect and transmit light. When the scrim is only front- or side lit at a very steep angle, it will appear opaque if everything behind it stays unlit. A scrim will become almost transparent if the scene behind it is lit, while the scrim itself remains unlit. A combination of both lighting (or projecting onto) the scrim and lighting the scene behind it can create a foggy 3D scene. The more the area behind the scrim becomes lighter, the more it will “bleed through” and appear.
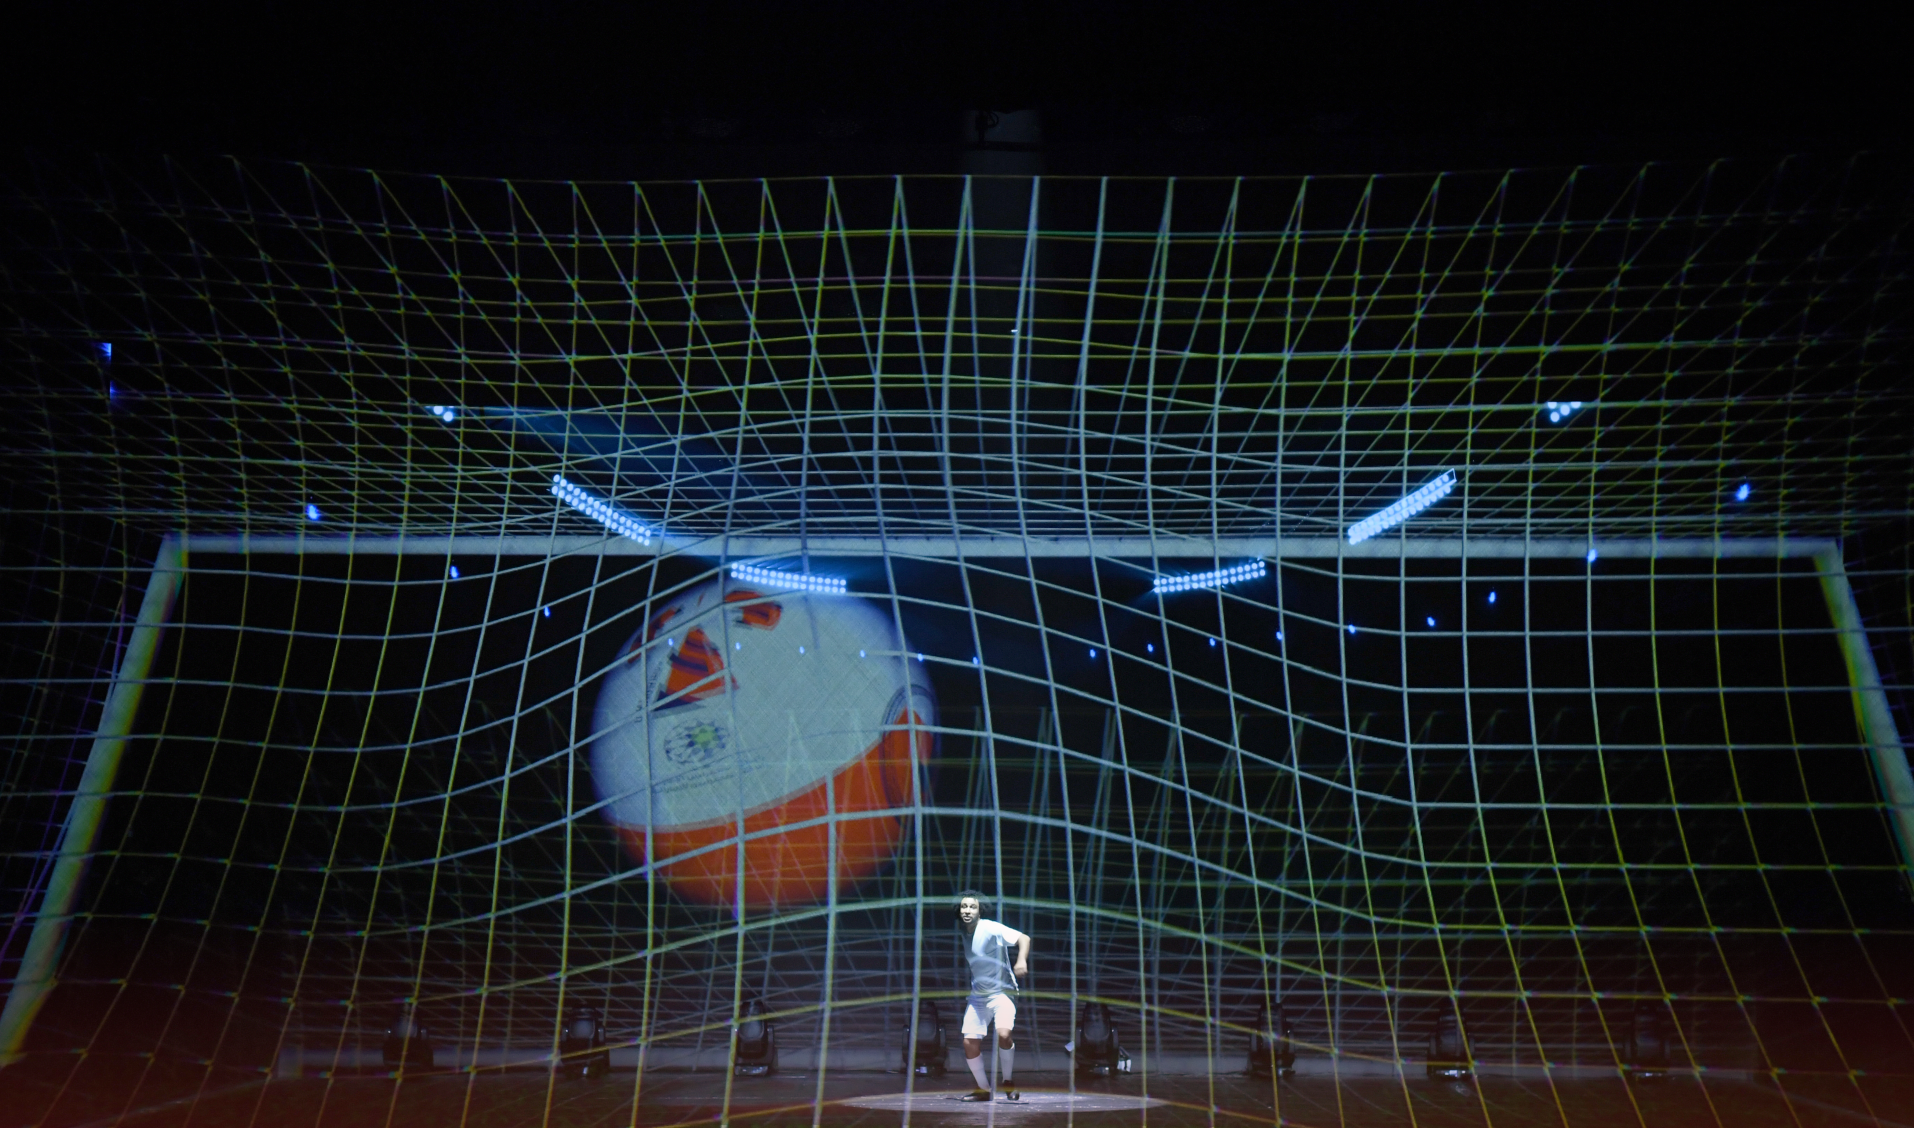
Obviously, the quality and brightness of the projector have a major effect on the projected image, but the best result also depends on its position towards the scrim.
When projecting straight onto a scrim, a big part of the light of the projector will shine right through the screen and light up the area behind it. This will produce a high-quality image but it is also the worst setup for making the scrim appear opaque, unless a blackout drape is installed right behind it. Rear projection is not advised for the same reason, as this will blind the audience. This is typically done for effect only.

The colours of the projected content are always affected by the colours of the scrim itself. Lighter scrims have less effect on image colouring than darker scrims. Therefore, the colours of the content might have to be calibrated based on the choice of scrim and its respective colour.
The position of the audience determines their viewing angle.
A scrim with a flat gain ratio diffuses light more evenly in all directions, which is great for seating placed at a wide viewing angle on the screen. Spectators will experience a similar image quality regardless of their angle of view.
A screen with a peak gain ratio is more suitable for setups with a narrow viewing angle, as the image quality increases towards those seated in the centre, but drops towards those seated at the outside.

To obtain the best result, all parameters should be carefully balanced.
When looking for a powerful projection image, you either choose a strong projector, a lighter scrim, a very tight mesh structure or a combination of these parameters.
When transparency is the most important factor, carefully avoid lighting up the area behind the scrim by using directional light onto a dark scrim or a projection surface with an open structure. This open structure can be achieved by a scrim with a larger mesh size or by a very thin and delicate gauzy fabric with a tiny mesh structure.